
本指南阐述通过 OHTTPS 平台申请 Let’s Encrypt 通配符证书并在 Apache 服务器上完成部署的流程,包含 DNS 验证、证书配置及服务重启等步骤。
一、证书申请流程
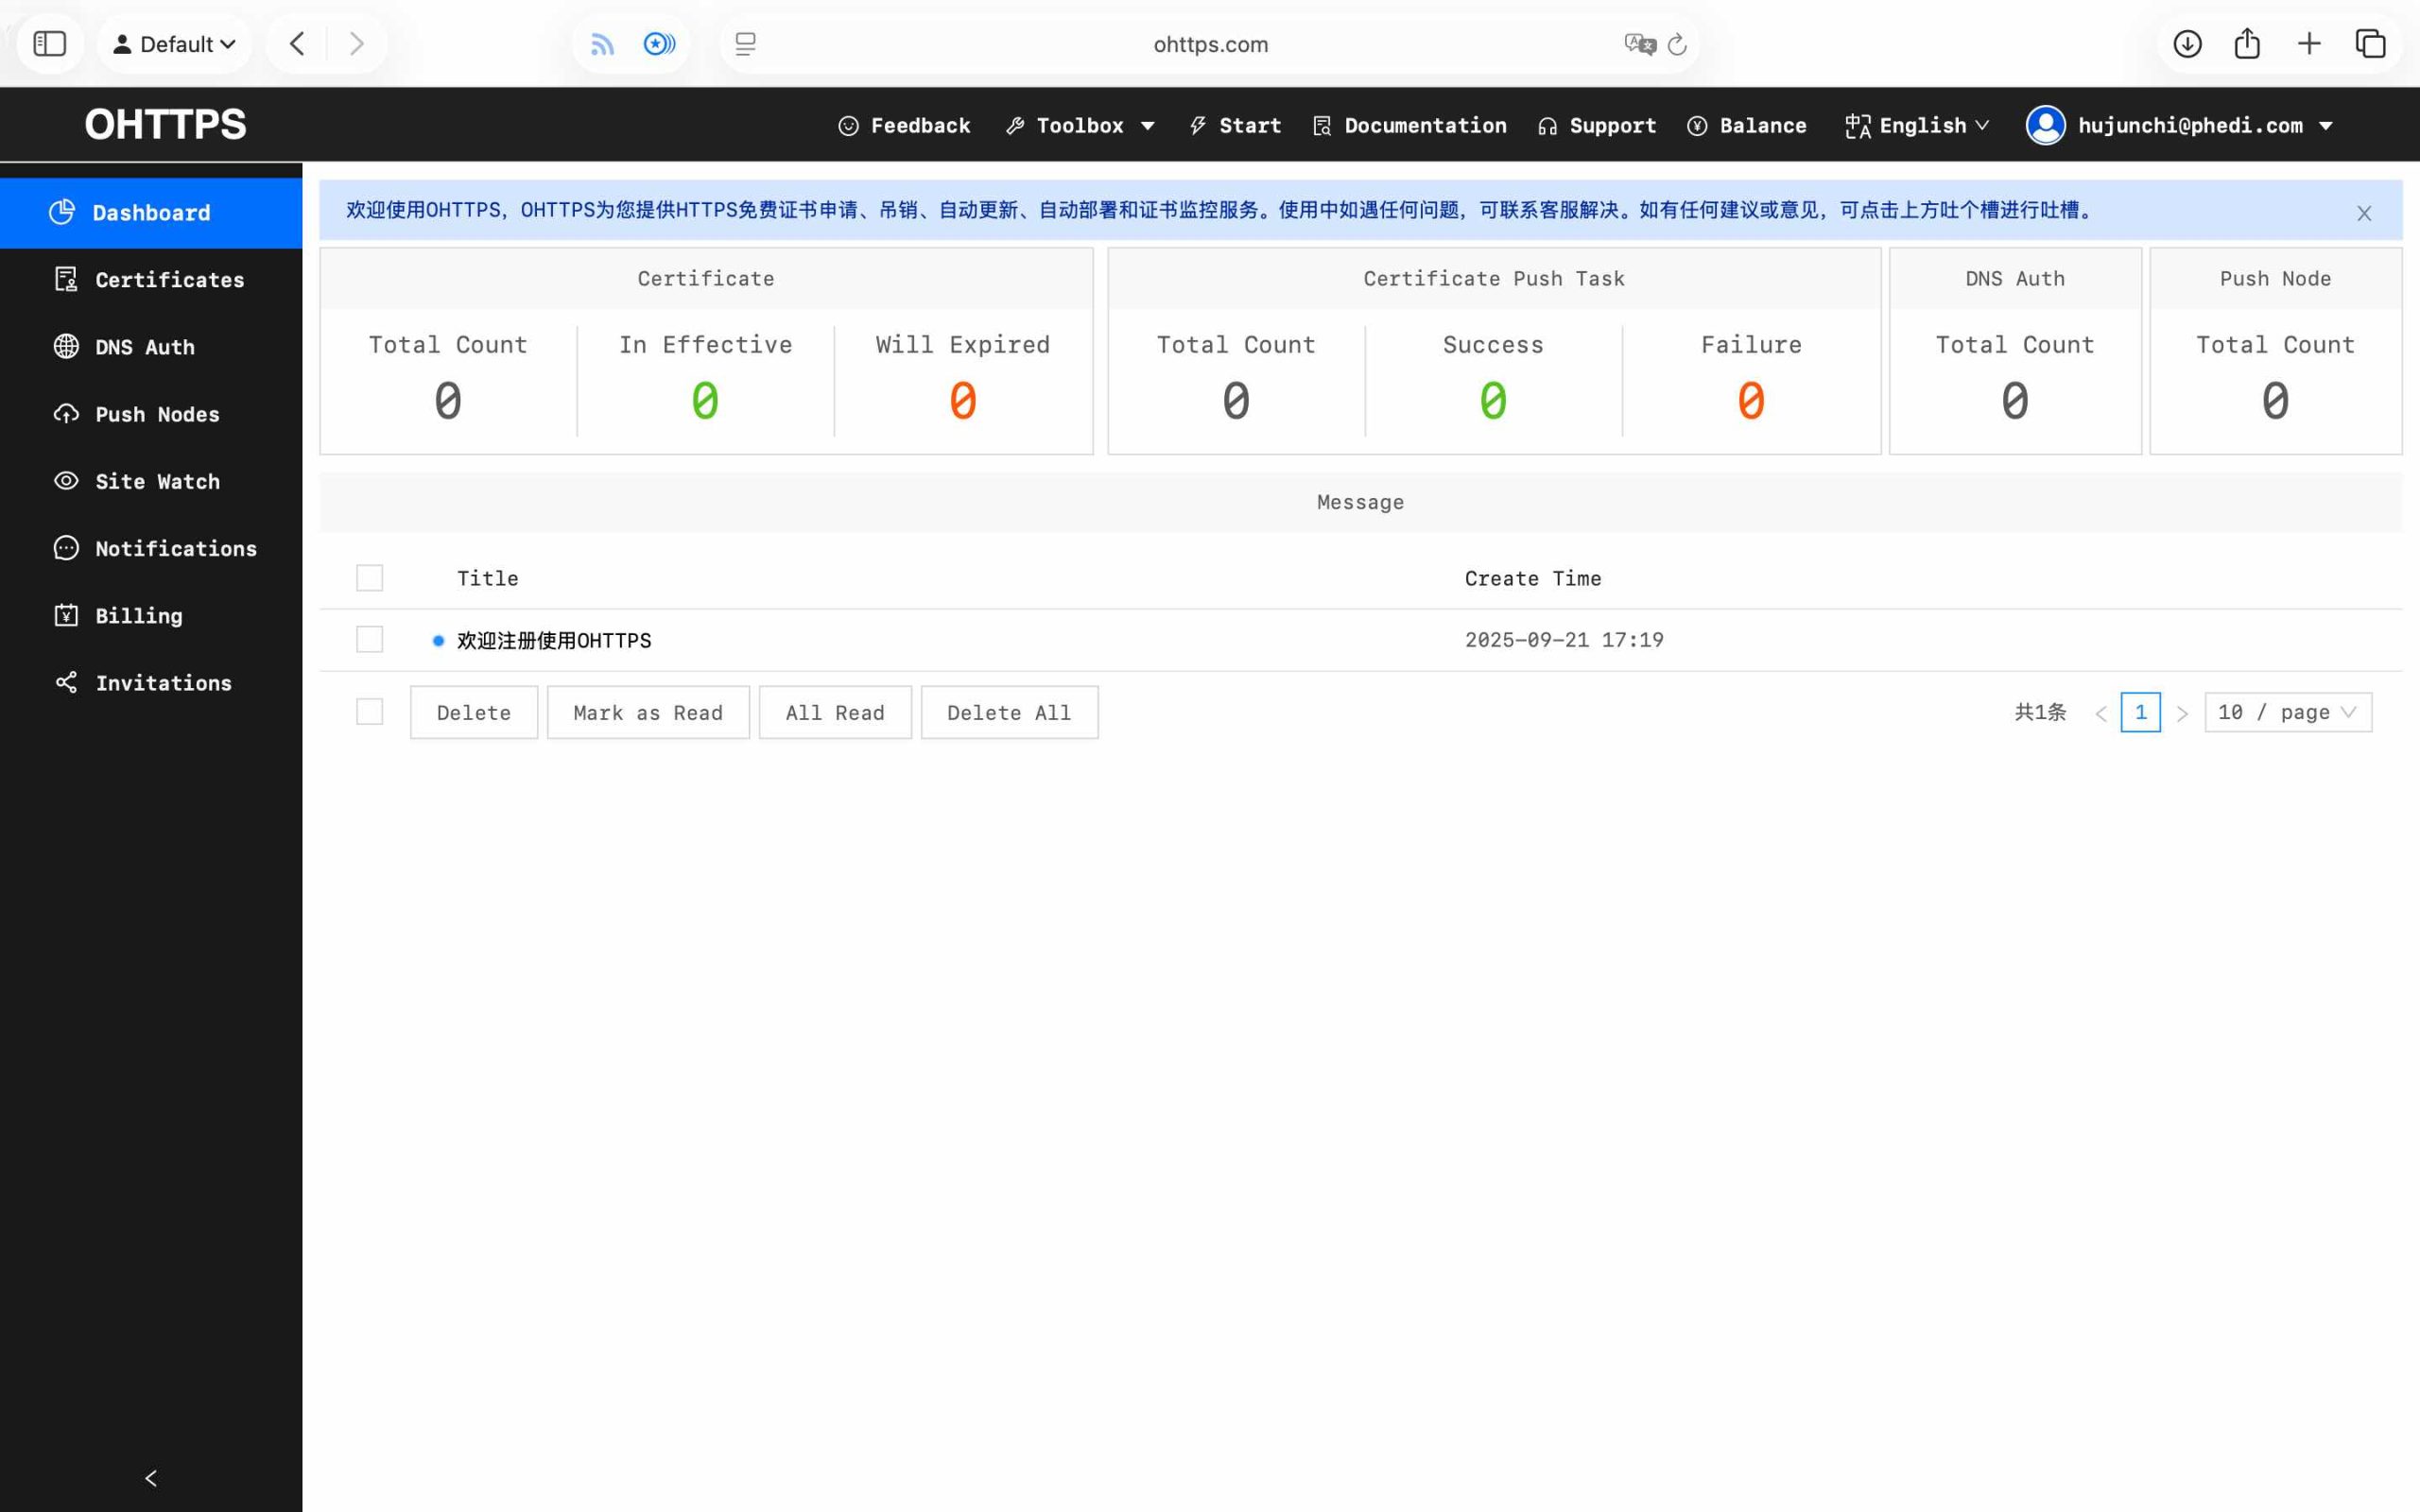
1.1 平台账号准备
在 https://ohttps.com 注册账号并登录:
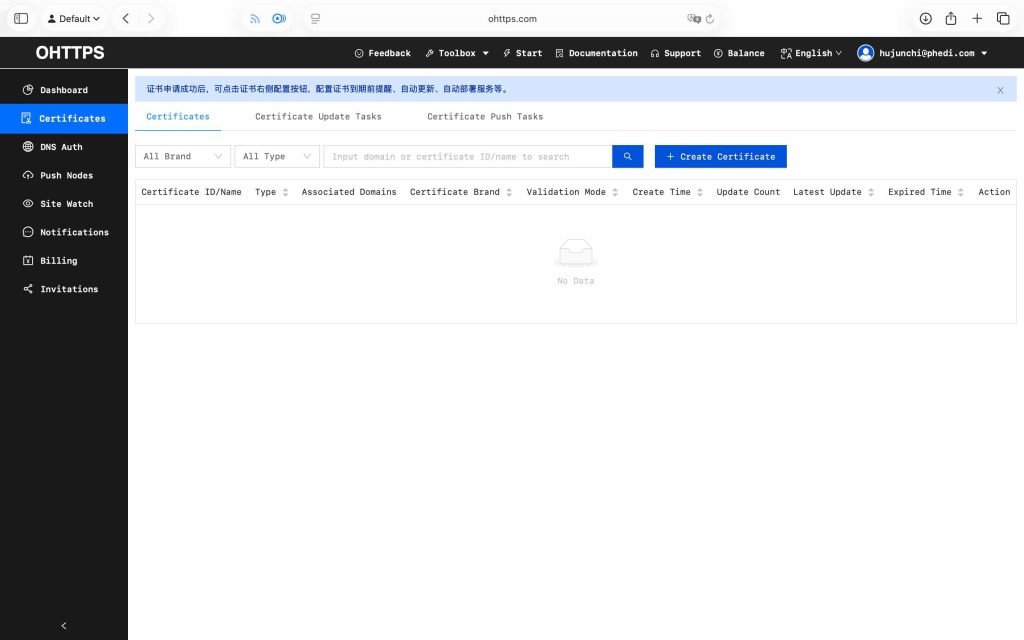
1.2 通配符证书申请
进入 Certificates 管理界面,点击 Create Certificate 按钮,开始申请 SSL 证书:
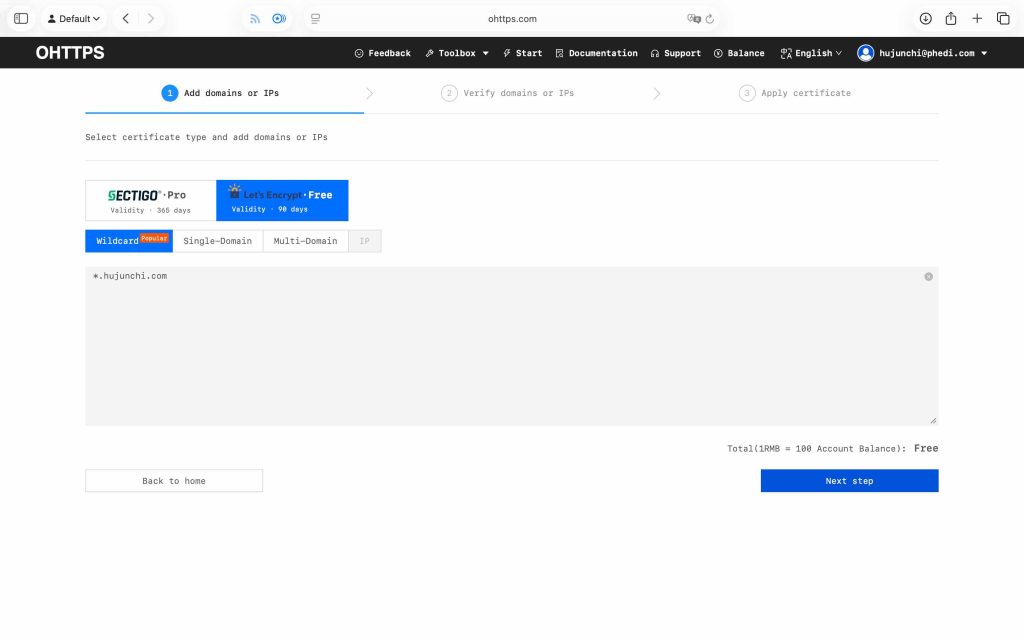
选择免费的 Let’s Encrypt 的 WildCard 模式,并填写主域名后提交:
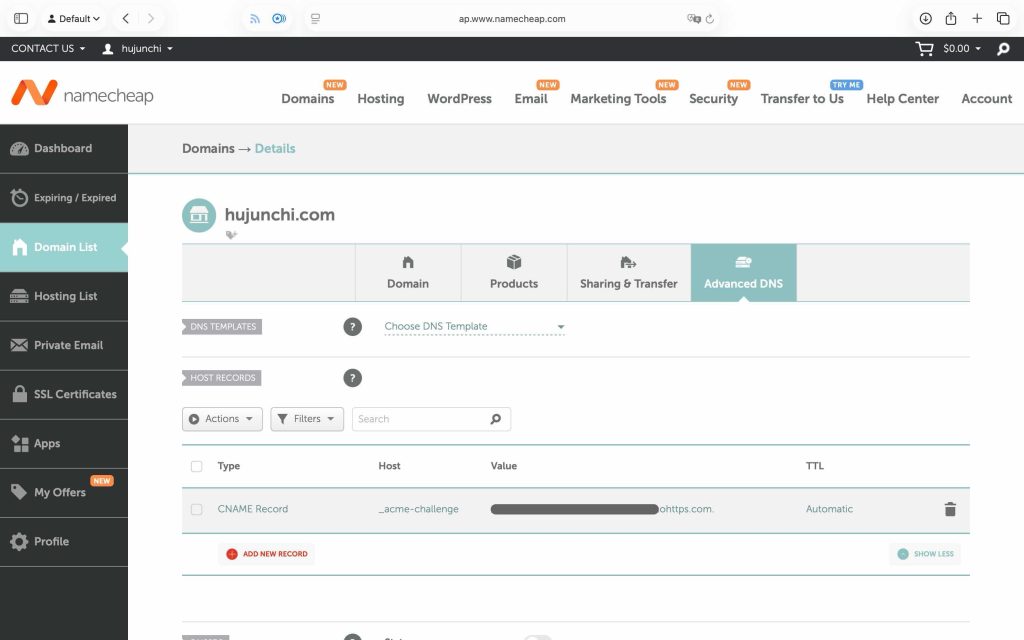
提交申请并记录系统生成的 CNAME 验证记录:
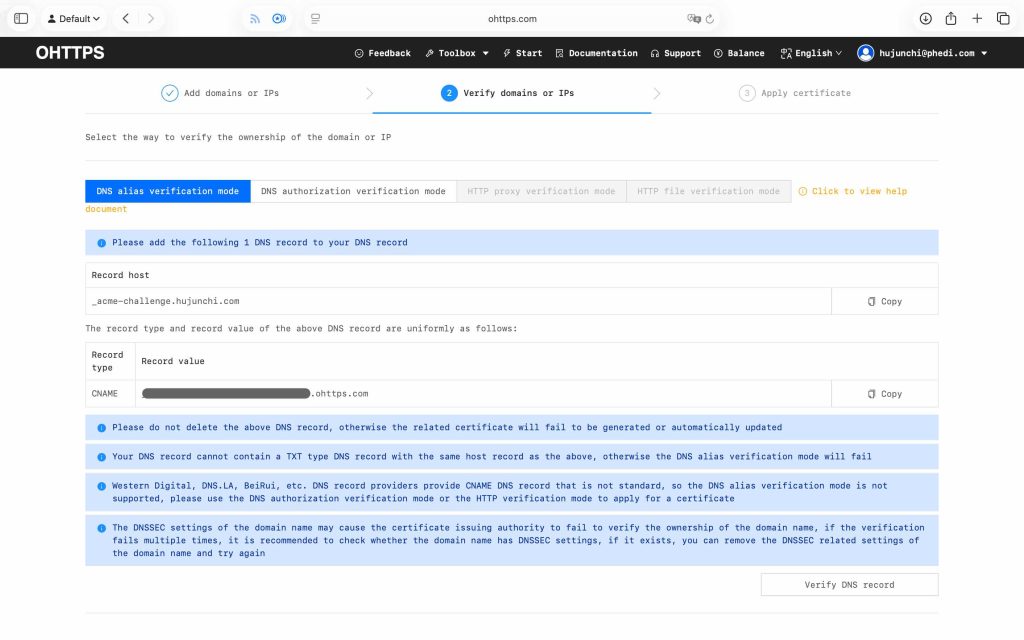
1.3 DNS 验证配置
登录域名注册商管理控制台,根据要求在目标域名的 DNS 记录管理中添加:
1.4 证书签发
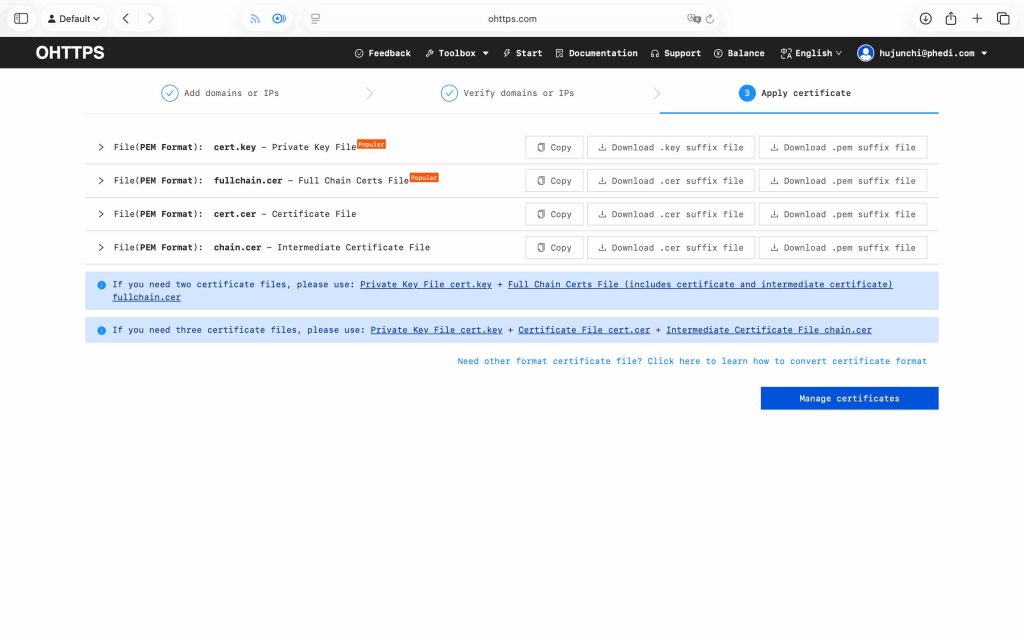
待新增 CNAME 生效后,回到证书申请页面验证解析情况后进入下一步,数分钟后可获取对应生成证书链:
二、Apache 服务器配置
2.1 证书文件部署
进入 Apache 服务器,创建 /var/www/ssl 目录,将生成的证书 cert.key 和 fullchain.cer 上传至 /var/www/ssl 目录下,并设置权限:
chown -R www-data /var/www/ssl
chgrp -R www-data /var/www/ssl2.2 SSL 模块启用
安装 openssl 模块:
apt-get install openssl启用 SSL 模块:
[root@hujunchi.com ~]#a2enmod ssl
Considering dependency setenvif for ssl:
Module setenvif already enabled
Considering dependency mime for ssl:
Module mime already enabled
Considering dependency socache_shmcb for ssl:
Enabling module socache_shmcb.
Enabling module ssl.
See /usr/share/doc/apache2/README.Debian.gz on how to configure SSL and create self-signed certificates.
To activate the new configuration, you need to run:
systemctl restart apache2重新运行 Apache2:
systemctl restart apache22.3 虚拟主机配置
使用 a2ensite 启用默认SSL站点模板:
a2ensite default-ssl修改 default-ssl.conf,设置 SSLCertificateFile 和 SSLCertificateKeyFile 为刚上传的 cert.key 和 fullchain.cer 文件:
vi /etc/apache2/sites-available/default-ssl.conf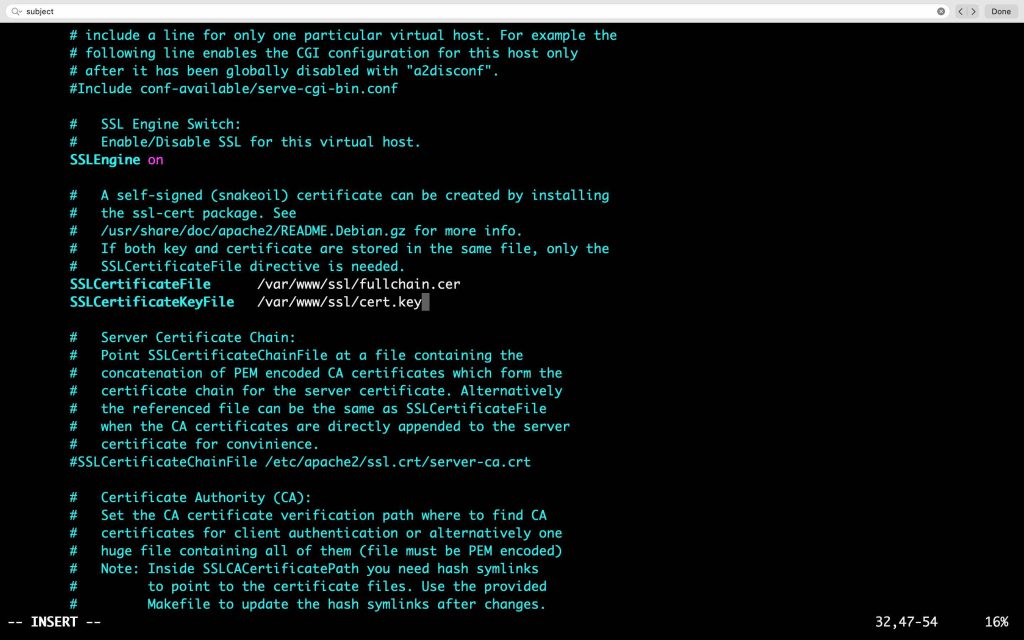
保存后,重启 Apache 服务:
systemctl reload apache2至此,SSL 证书已经配置完成,使用 https 重新访问网站即可。注意,SSL 证书需每 90 天更新一次方可持续保证证书的有效。
发表回复